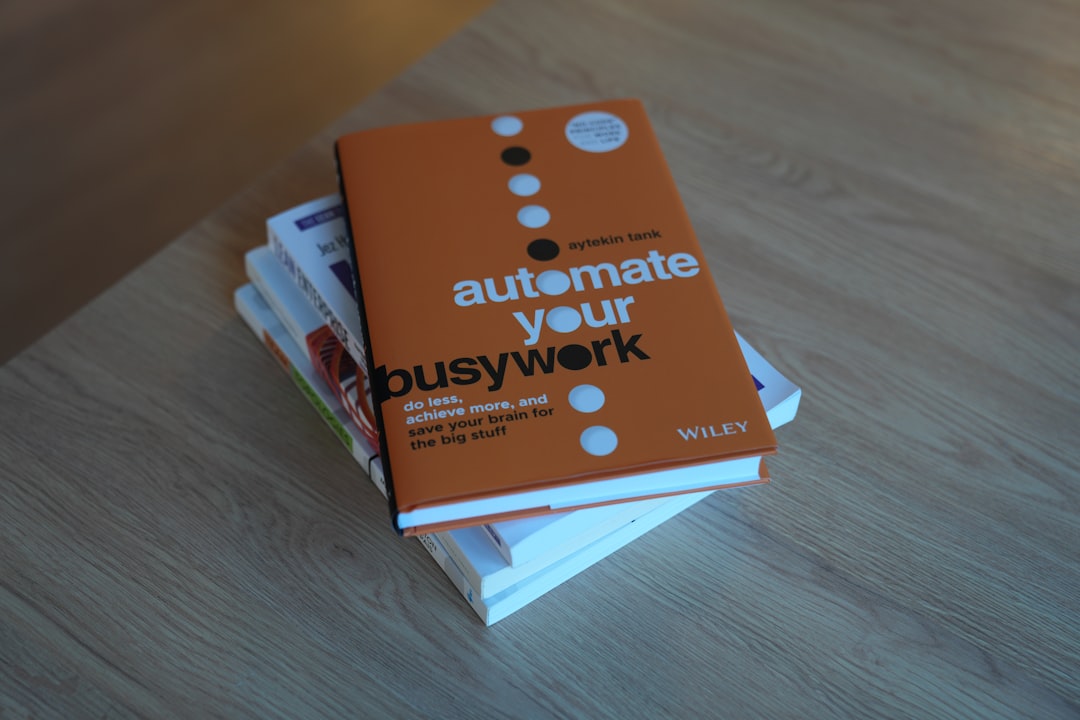
How to Automate WordPress Publishing: A Step-by-Step Workflow Guide

Photo by Stephen Phillips – Hostreviews.co.uk on Unsplash
Managing a successful website often feels like being trapped on an endless content treadmill. Between drafting articles, formatting layouts, optimizing metadata, and scheduling updates across different platforms, the manual overhead can quickly stifle your creative energy. Fortunately, you can reclaim your time and scale your production by learning how to automate wordpress publishing workflows. By offloading repetitive tasks to smart systems, you can transition from a stressed administrator to a strategic curator, focusing on high-level growth while technology handles the manual work.
Automating your workflow does not mean sacrificing quality or losing your brand's unique voice. Instead, it is about creating a seamless pipeline where drafts move effortlessly from ideation to live publication. When implemented correctly, automation ensures that your formatting remains consistent, your SEO requirements are met, and your social channels are updated the moment a post goes live.
Why Automate Your WordPress Content Engine?
The primary advantage of establishing an automated content engine is operational efficiency. If you are a solo creator or a lean marketing team, manual publishing can easily eat up several hours per week. Those hours are better spent on deep research, audience engagement, or product development. By utilizing specialized platforms like wp-publisher.com, you can centralize your pipeline and ensure your site remains active without requiring daily manual input.
Beyond saving time, automation introduces a level of consistency that is hard to maintain manually. It eliminates the risk of human error, such as forgetting to set a featured image, missing a crucial meta tag, or failing to share a newly published post on your social media channels. Systems run reliably 24/7, making sure your publishing schedule remains on track regardless of your personal calendar.
The Core Logic: How Automation Engines Work
At its heart, any publishing automation setup relies on a simple, logical sequence: Trigger, Action, and Outcome.

Photo by kenny cheng on Unsplash
- The Trigger: This is the event that starts the entire process. It could be a new row added to a Google Sheet, a document moving to a specific "Approved" folder in Google Drive, or a scheduled time slot arriving on an editorial calendar.
- The Action: The automation platform responds to the trigger by executing a series of predefined tasks. This might include extracting text from a document, generating a relevant thumbnail, optimizing meta descriptions using an API, and creating a draft in your WordPress dashboard.
- The Outcome: The final result of the workflow. For content publishing, the outcome is typically a perfectly formatted WordPress post set to "Scheduled" or "Published", accompanied by automated notifications sent to your social media channels or internal Slack channels.
Understanding this flow allows you to construct custom pipelines that fit your exact business needs, moving far beyond basic out-of-the-box scheduling tools.
Choosing the Right Tools to Automate WordPress Publishing
To get started, you must select the right middleware or plugin structure. There are three primary routes you can take, depending on your technical comfort level and the complexity of your publishing pipeline.

Photo by Stephen Phillips – Hostreviews.co.uk on Unsplash
To help you decide which approach fits your budget and technical requirements, we have outlined the core differences below:
| Automation Approach | Ideal For | Pros | Cons |
|---|---|---|---|
| WordPress Plugins (e.g., Uncanny Automator) | Beginners & site-centric workflows | Easy setup, native dashboard interface, minimal technical hurdles | Limited to supported plugin integrations, can slow down sites if bloated |
| Cloud Integration Platforms (e.g., Zapier, Make) | Multi-platform marketing teams | Vast app directories, visual drag-and-drop builders, highly reliable | Can become expensive on high-volume plans, reliant on external servers |
| Self-Hosted Engines (e.g., n8n) | Advanced users & developers | Complete data privacy, virtually free to scale, highly customizable | Requires server management, steeper learning curve |
No matter which path you select, the key is ensuring that the tool can communicate reliably with the WordPress REST API, which acts as the digital doorway for external publishing platforms.
Step-by-Step Guide to Automate WordPress Publishing
Ready to build your automated pipeline? Follow this step-by-step blueprint to connect your content sources directly to your WordPress dashboard.
Step 1: Preparing Your WordPress Site and REST API
Before external tools can write data to your site, you must establish a secure connection. WordPress uses "Application Passwords" to grant restricted API access to third-party tools without exposing your master admin password.

Photo by Souvik Banerjee on Unsplash
- Navigate to your WordPress Dashboard and go to Users > Profile.
- Scroll down to the Application Passwords section.
- Enter a name for your new credentials (e.g., "n8n Publisher Connection") and click Add New Application Password.
- Copy the generated password immediately and save it in a secure password manager. You will not be able to view it again.
For detailed API configuration steps and advanced security setups, refer to the official Docs page to ensure your server configuration allows external REST requests.
Step 2: Connecting Your Content Source (The Trigger)
Most automated workflows begin in a cloud-based document editor or an agile project management tool. In this guide, we will use Google Drive as our source.

Photo by Rubaitul Azad on Unsplash
- Create a dedicated folder in Google Drive named "Ready for Publish".
- In your automation platform (such as Make or Zapier), set the Trigger application to Google Drive.
- Choose the specific trigger event: New File in Folder.
- Select your "Ready for Publish" folder. Whenever a file is moved here, the workflow will automatically wake up and run.
Step 3: Configuring the Middleware (The Action)
Now, you need to tell your automation tool how to handle the incoming document data and translate it into a readable WordPress format.
- Add a new action step to your workflow and select the WordPress app.
- Select the action Create a Post.
- Map the fields from your Google Doc to WordPress:
- Title: Use the document's file name.
- Content: Use the parsed HTML or plain text from the document body.
- Status: Set this to Draft or Pending Review (highly recommended for quality control).
- Save the configuration and run a test to ensure a draft successfully appears in your WordPress editor.
Step 4: Establishing a Quality Control Gate
While hands-off publishing sounds incredibly convenient, fully automated pipelines can occasionally run into styling bugs, broken links, or minor formatting issues.

To prevent these errors from reaching your live audience, establish a "Human-in-the-Loop" gate. By setting the default post status to "Draft," a human editor can do a quick 2-minute visual check, add the final touch-ups, and hit the publish button manually. This hybrid approach gives you 90% of the speed benefits of automation while maintaining 100% of the editorial quality control.
Best Practices to Secure Your Automated Publishing Pipeline
Connecting third-party apps to your website's database requires a strong focus on security. If an automated API key falls into the wrong hands, bad actors could easily post unauthorized content or alter your live pages.
First, never use an administrator account to generate your application passwords. Instead, create a dedicated WordPress user account with the role of Editor or Author. This limits the scope of what the API can do, ensuring that even if the API credentials are compromised, the attacker cannot access your core site settings, database, or plugin files.
Second, be mindful of how automated content affects your search engine presence. If you use automation to generate high-volume content, prioritize deep editing and manual optimization. Search engines prioritize original, helpful content that demonstrates real-world expertise. Purely automated pipelines that push unedited content without editorial oversight risk being flagged as spam or thin content.
Conclusion
Automating your WordPress publishing workflow is one of the smartest investments you can make for your digital publishing operations. By setting up a reliable trigger-action pipeline, you can cut out hours of manual copying and pasting, layout formatting, and cross-platform sharing. Start small by automating a single stage of your process, such as saving drafts from Google Docs into WordPress, and gradually expand your pipeline as you become more comfortable with the tools. With a secure foundation and an editorial safety gate in place, your automated content engine will save you time and help you scale your online presence efficiently.